After setting up your ClickPress account, the next important step is to add and configure your domain correctly. This involves pointing the necessary DNS records to ClickPress, making your website accessible online. You can do this by either changing your DNS management to ClickPress or creating an A record.
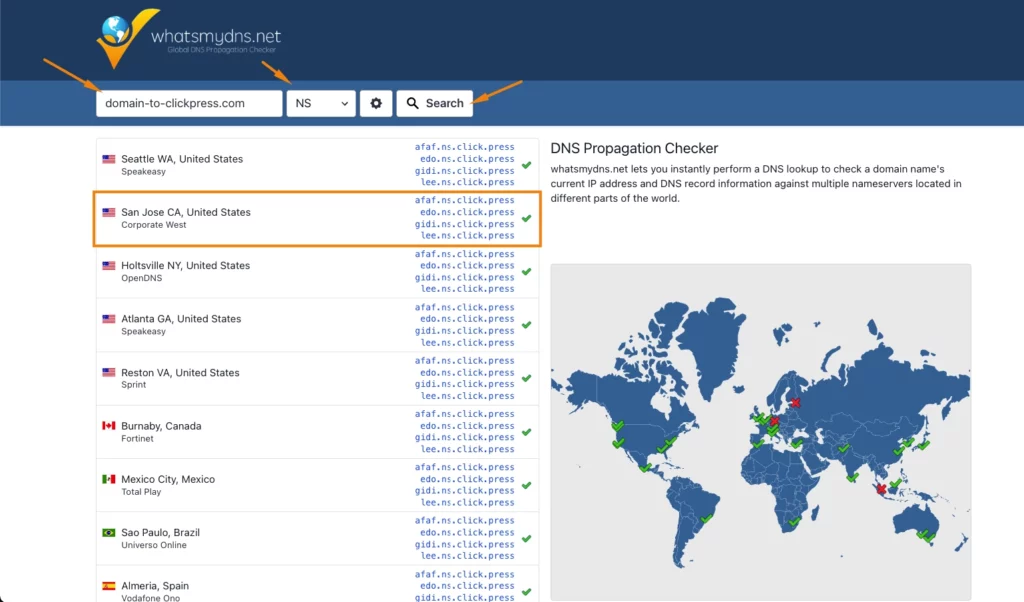
Through the ClickPress site management dashboard, you can easily and securely add your domain. When adding your domain name, our system will show you where it was purchased, helping you identify the registrar if you don’t remember. You can also make that check on your own by using tools like Whois.com or whatsmydns.net
We highly recommend changing your entire DNS management to ClickPress because it simplifies domain management, ensures automatic updates, and enhances website performance.
Change DNS Records from Hosting to ClickPress
Through the ClickPress site management dashboard, you add and point your domain in a secure, easy 3 steps. Here’s how you can do it:
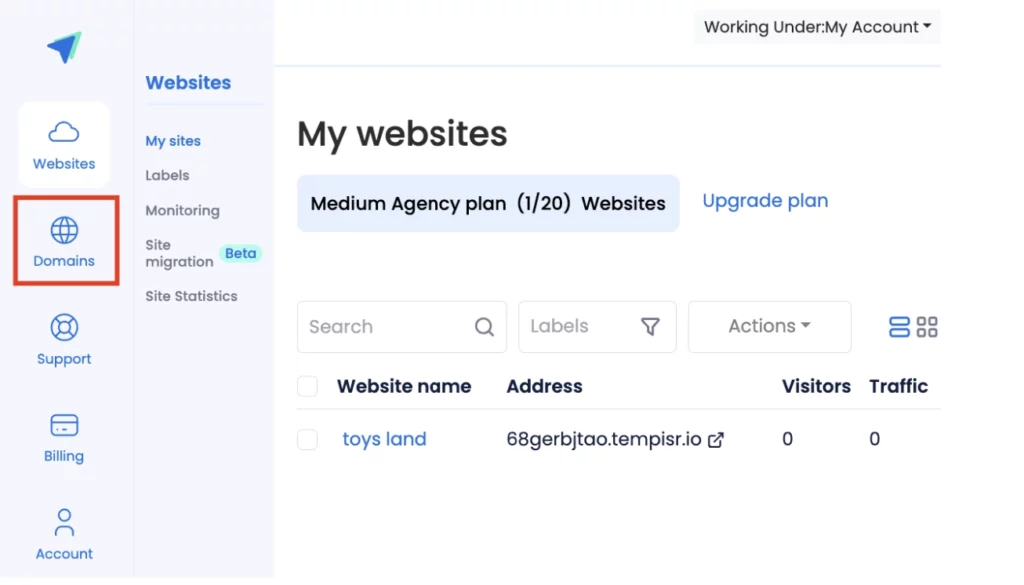
Step 1: Click on the ‘Domains’ icon.
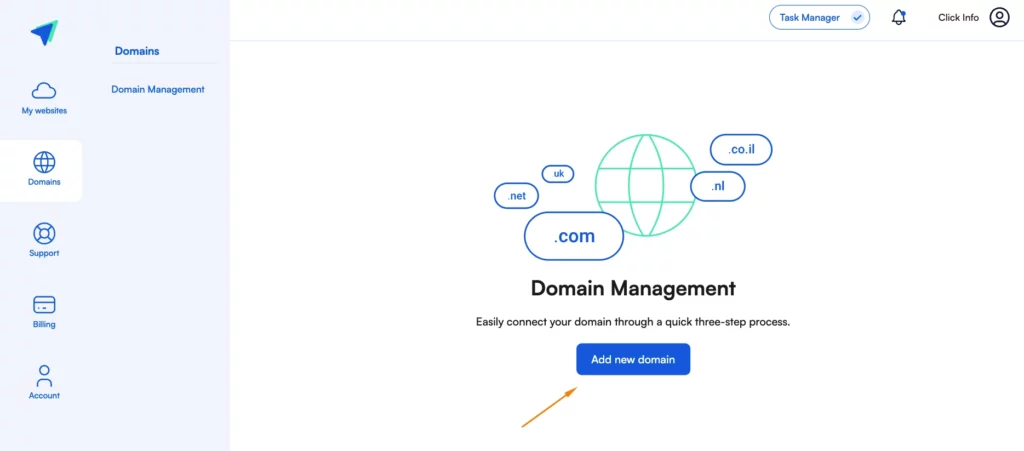
Step 2: Click on the blue button Add a new domain.
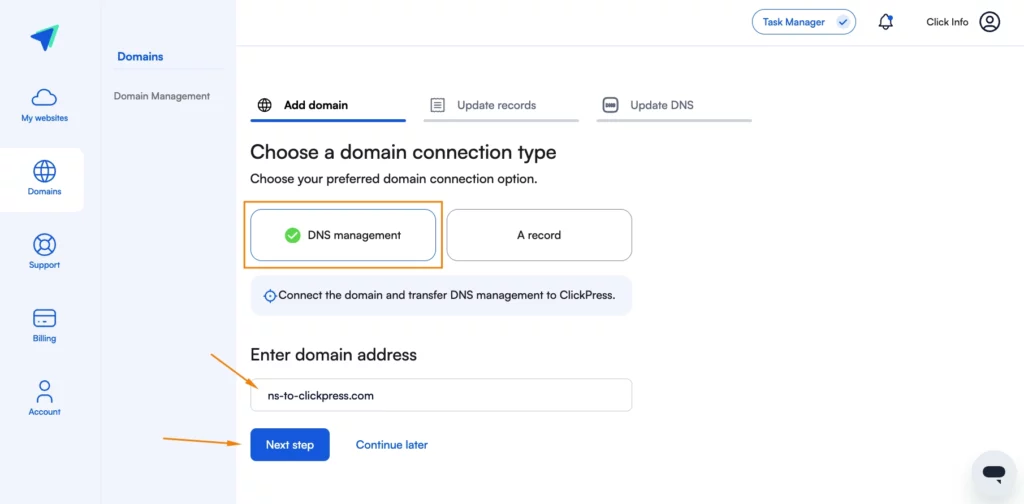
Step 3: Choose the DNS management option, type in your domain address, and then click on Next.
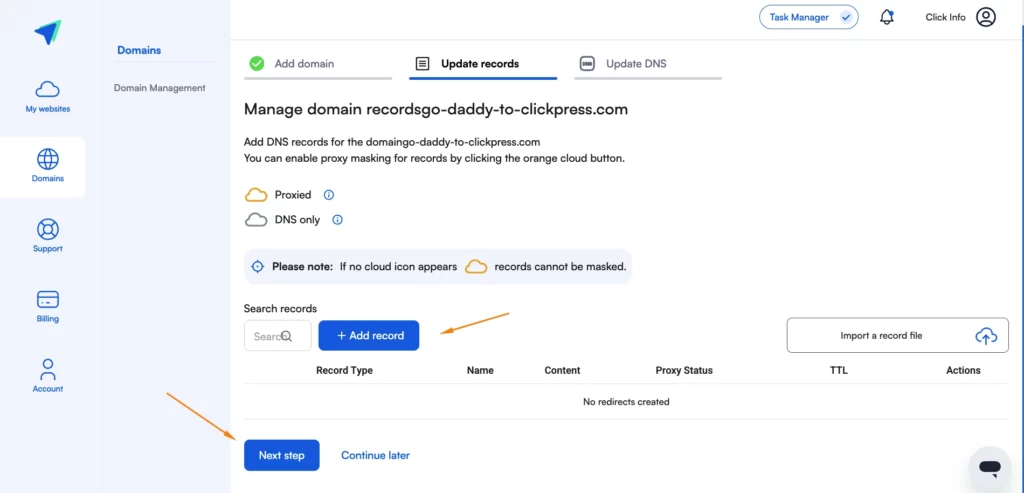
Step 4: Please be aware that if you have additional records, such as emails or landing pages, it is crucial to include them at this stage. Please add these records to ensure services are correctly routed.
If you are not interested in referring additional records besides NS, click on the next step.
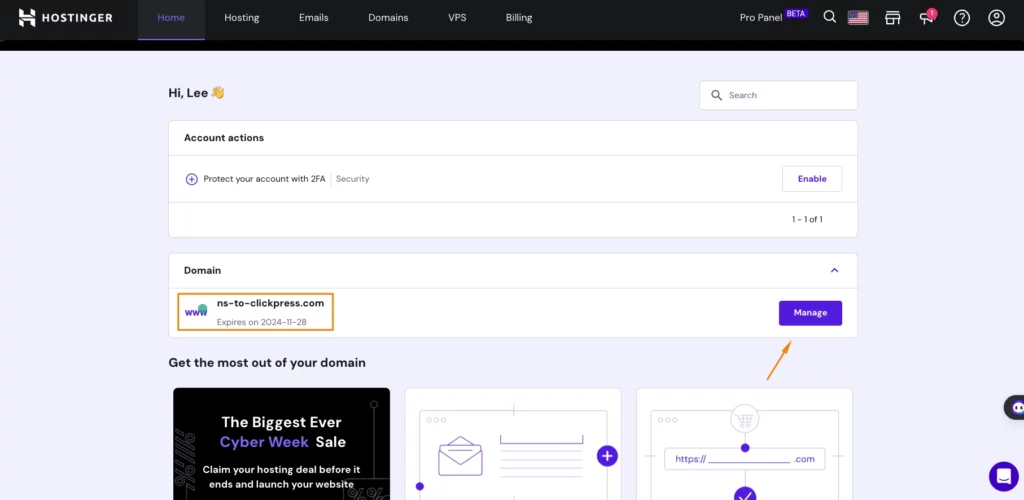
Step 5: Log in to your account at Hostinger.

Step 6: Click on Manage.
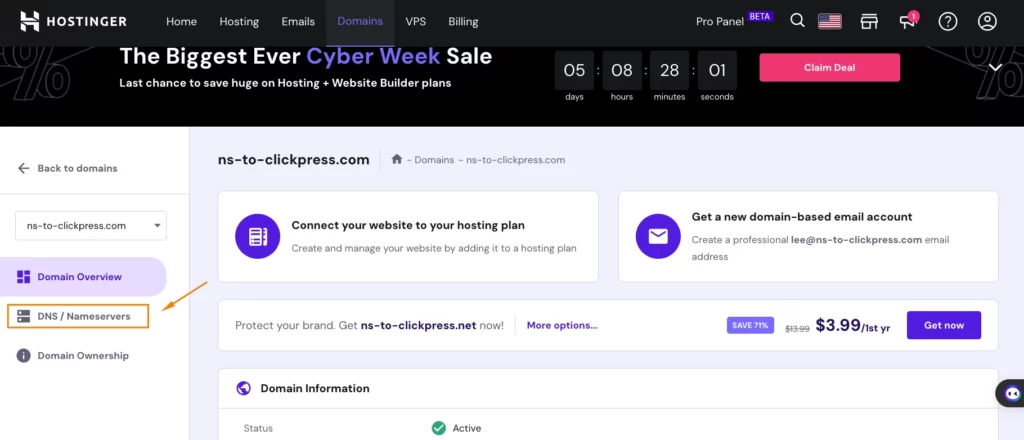
Step 6: Click on DNS/Nameservers.
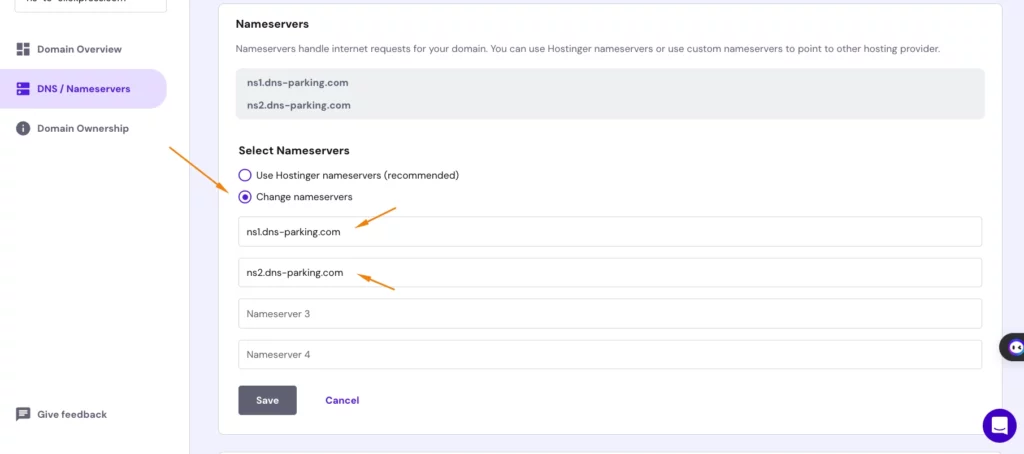
Step 7: Click on Change Nameservers.
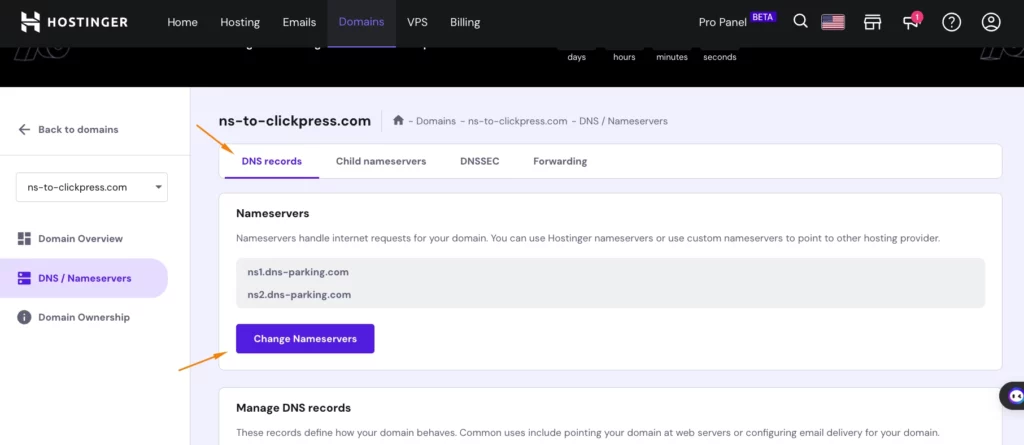
Step 8: Choose the option Change nameservers and then delete the two records.
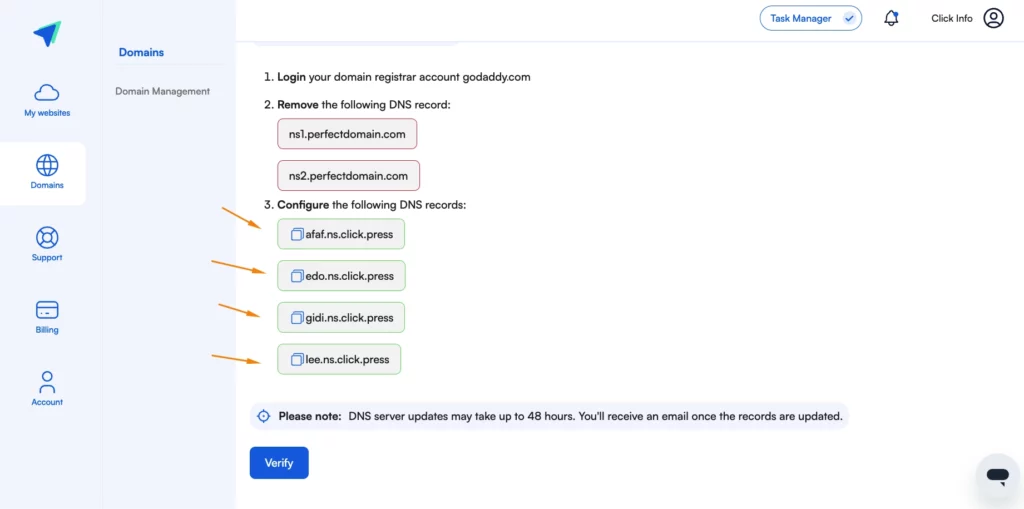
Step 8: On the DNS update page in the ClickPress interface, copy the four records.
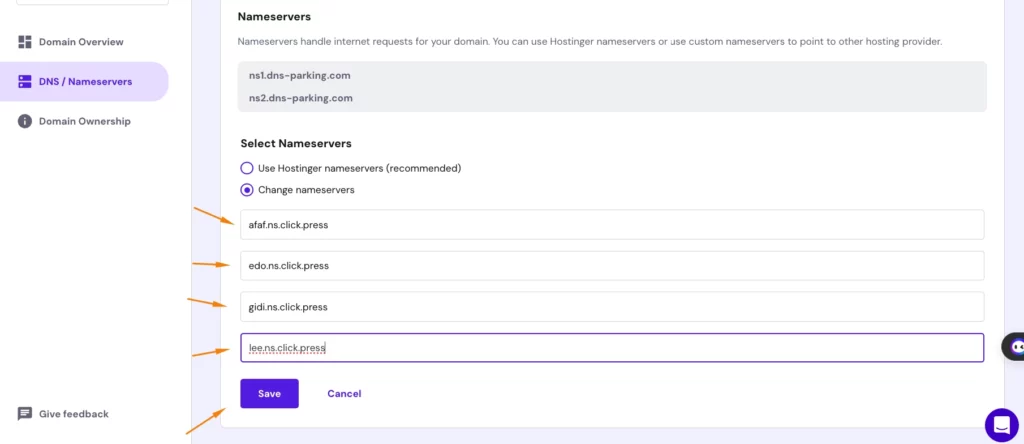
Step 9: Paste the nameserver in each box. Please make sure to add all four nameservers, then click Save.
afaf.ns.click.press
edo.ns.click.press
gidi.ns.click.press
lee.ns.click.press
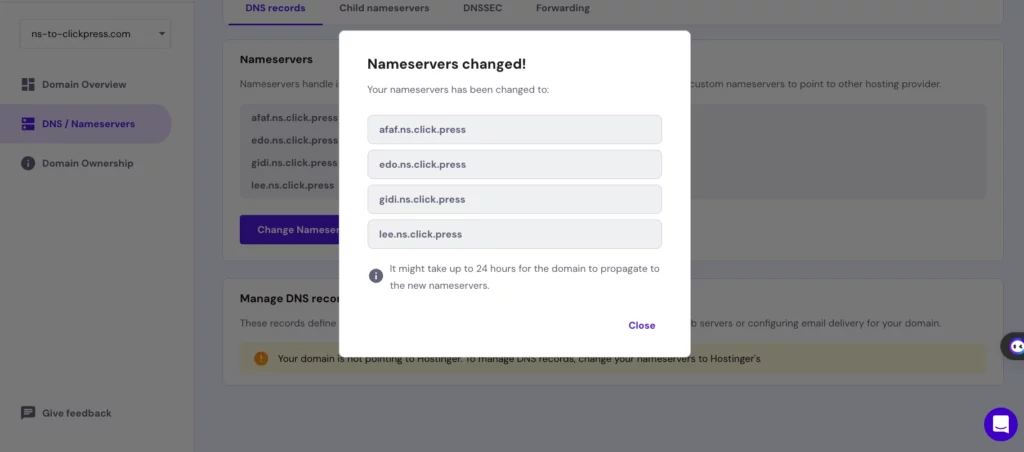
Final Step: Click Verify on the updated DNS page.
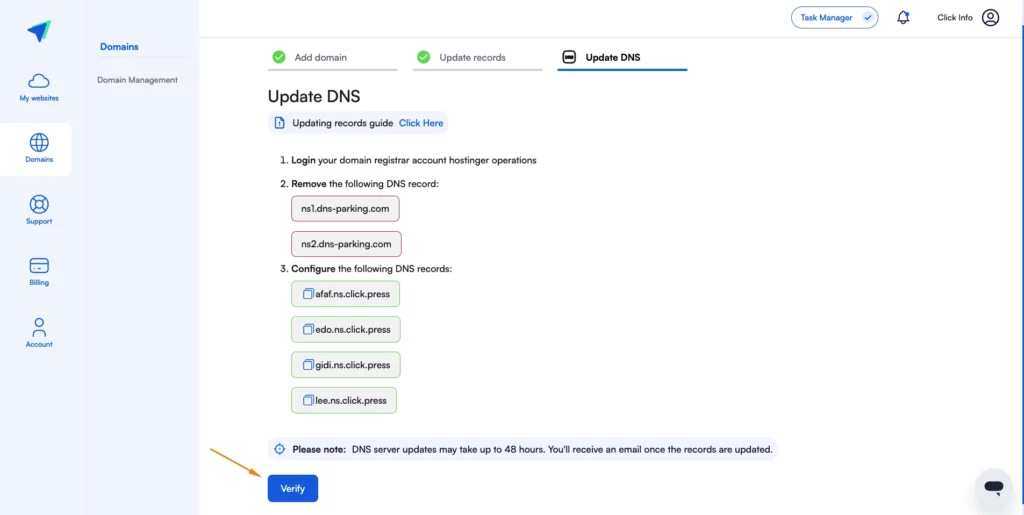
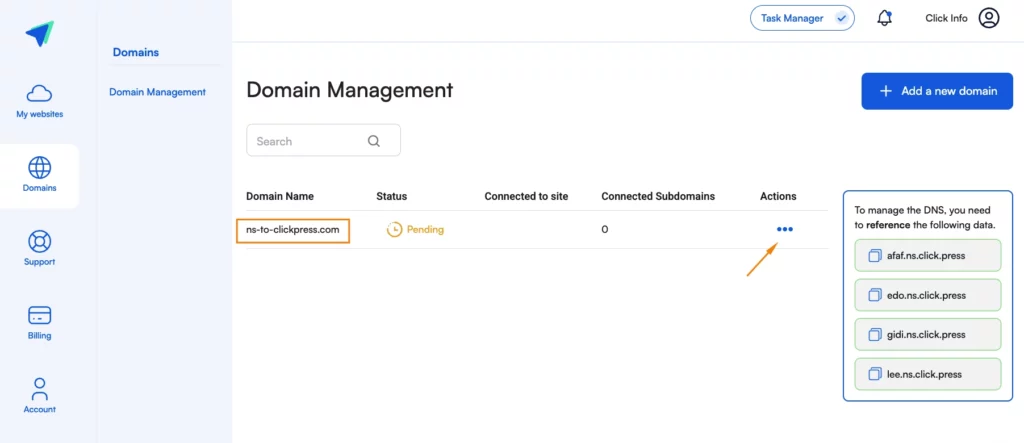
Please note: Pointing and connecting your domain to ClickPress hosting may take up to 48 hours. You can check the domain status by clicking on the three dots.
You can visit the website WhatMyDNS to track your domain referral process and notice when it points to ClickPress servers. Type your domain, choose NS, and click the search button.
