
Manage your website cache with the Nginx Helper Plugin
The Nginx Helper plugin clears cache memory at the server level, ensuring that users consistently see the most recent website content after updates or changes are made.
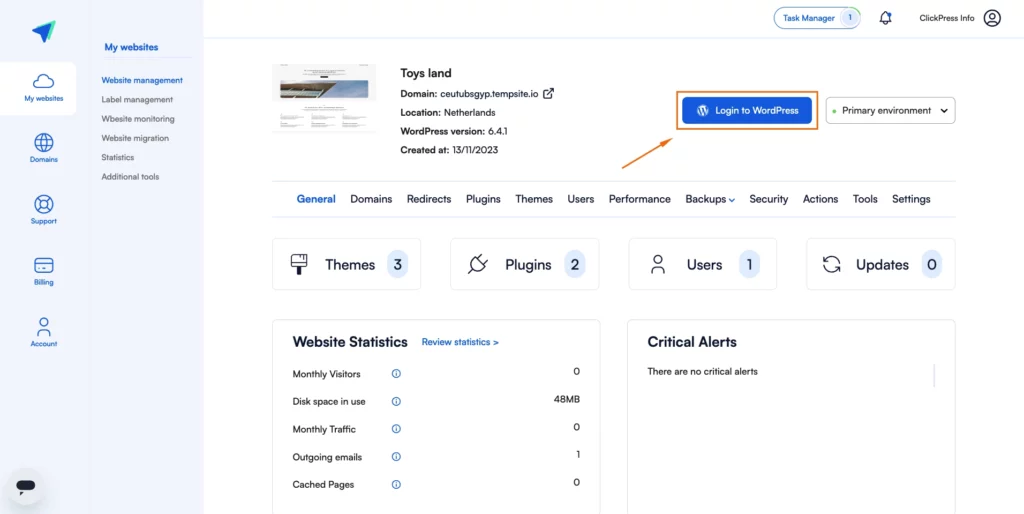
Step 1: Click on the blue button Login to WordPress.
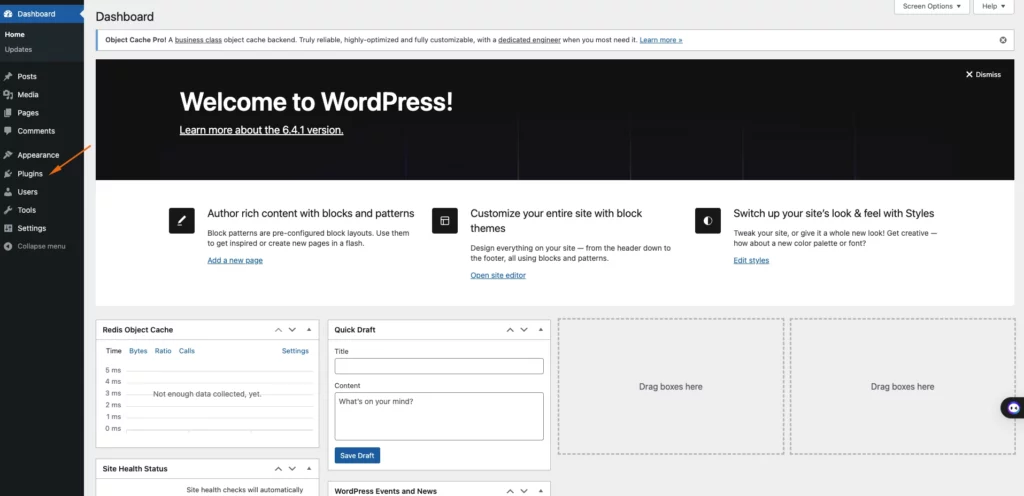
Step 2: Click on Plugins.
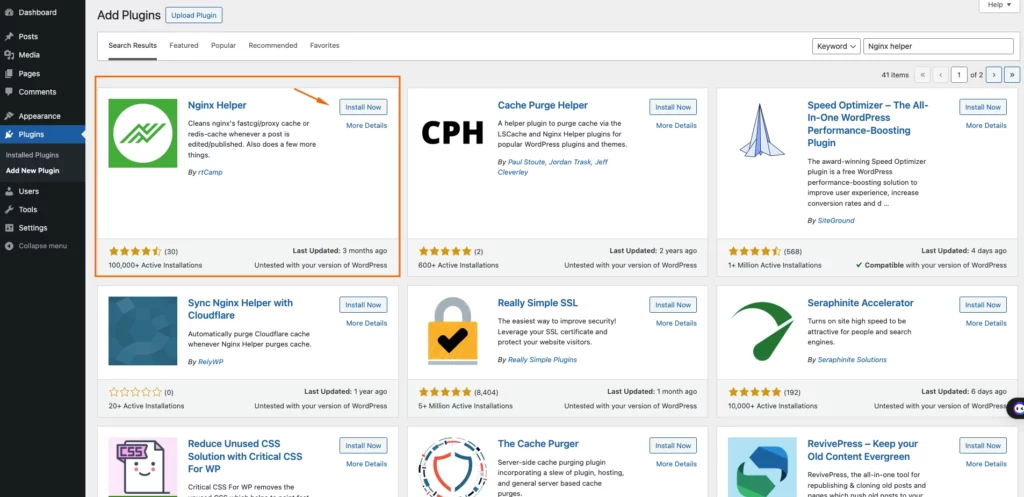
Step 3: Type Nginx helper in the search box and click on Install Now.
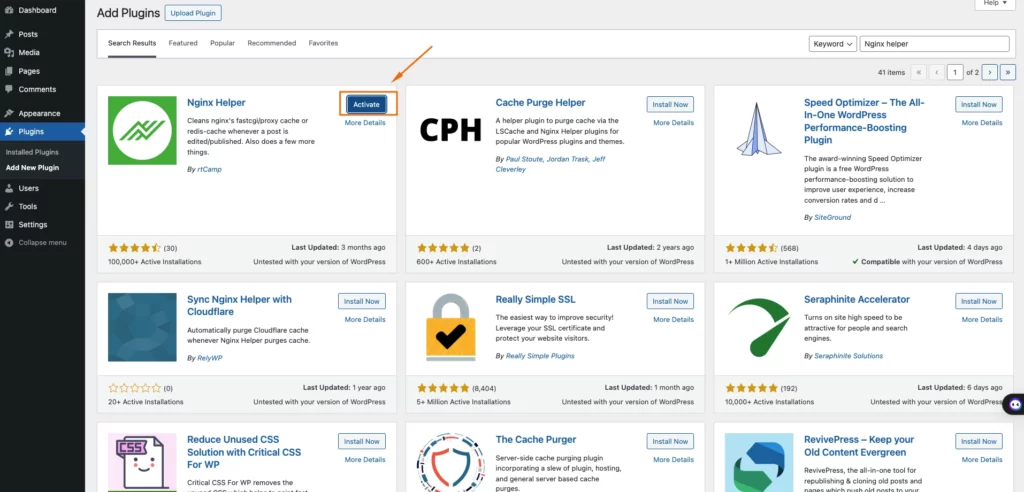
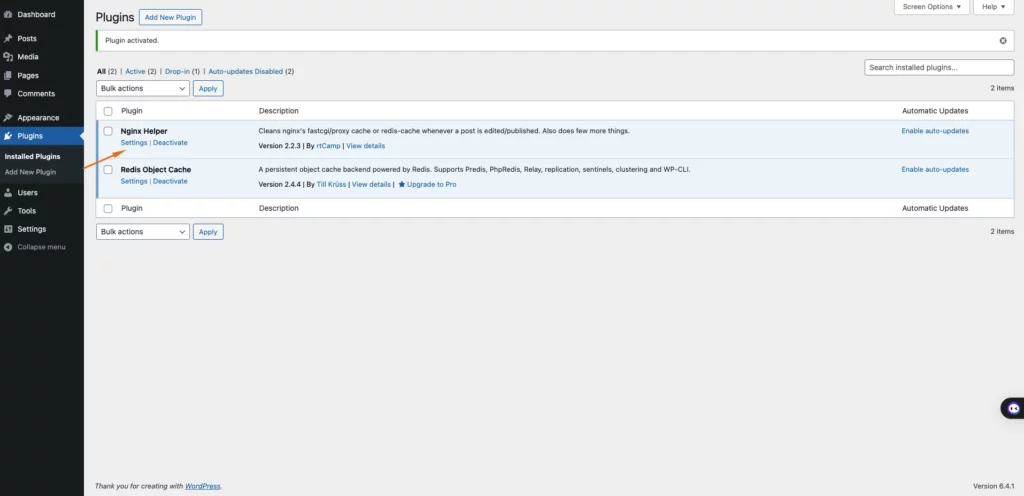
Step 4: Click on Activate.
Step 5: Click on Settings.
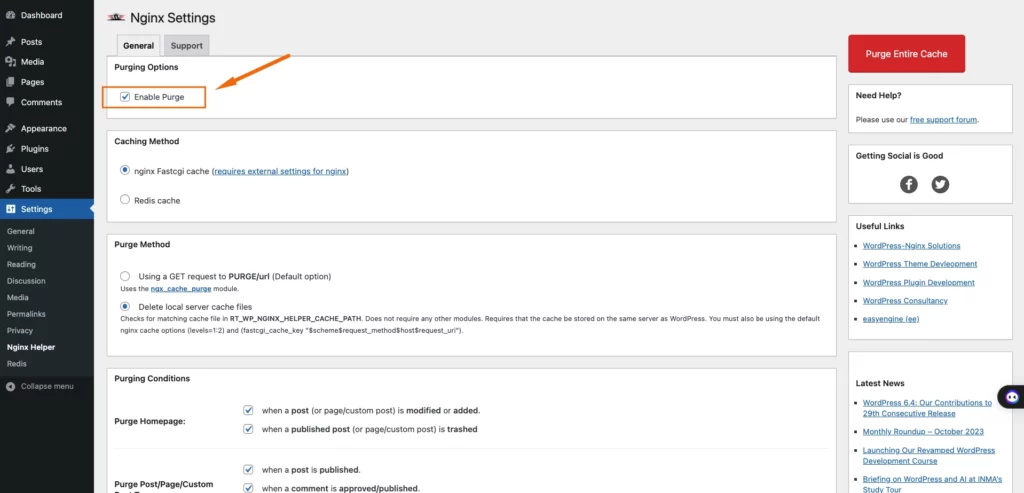
Mark the ‘Enable Purge‘ box. This option automatically cleans content every time you make changes to the site.
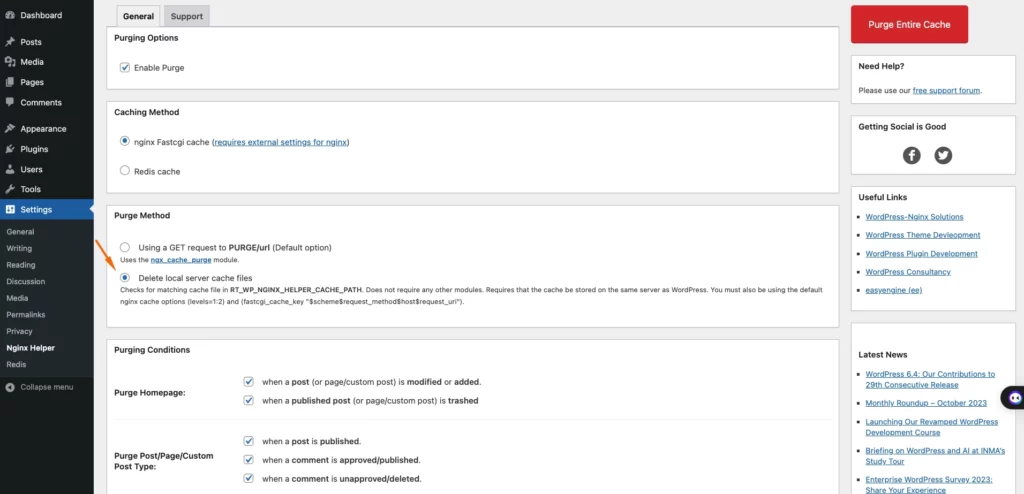
Mark the ‘Delete Local’ option. This action removes unnecessary cache files from the server to prevent overloads and ensure optimal site performance.
Related Articles
How To Change Hostinger DNS to ClickPress
A simple guide to changing your domain via NS referral from the Hostinger registrar to ClickPress hosting.
How To Change Namecheap DNS to ClickPress
A simple guide to changing your domain via NS referral from the Namecheap registrar to ClickPress hosting.
How To Change Domain.com DNS to ClickPress
A simple guide to changing your domain via NS referral from the domain.com registrar to ClickPress hosting.

