
How to Create HTTP Authentication
HTTP authentication is a security extra layer that enhances protection by prompting users to provide a username and password when accessing your website or your account at ClickPress.
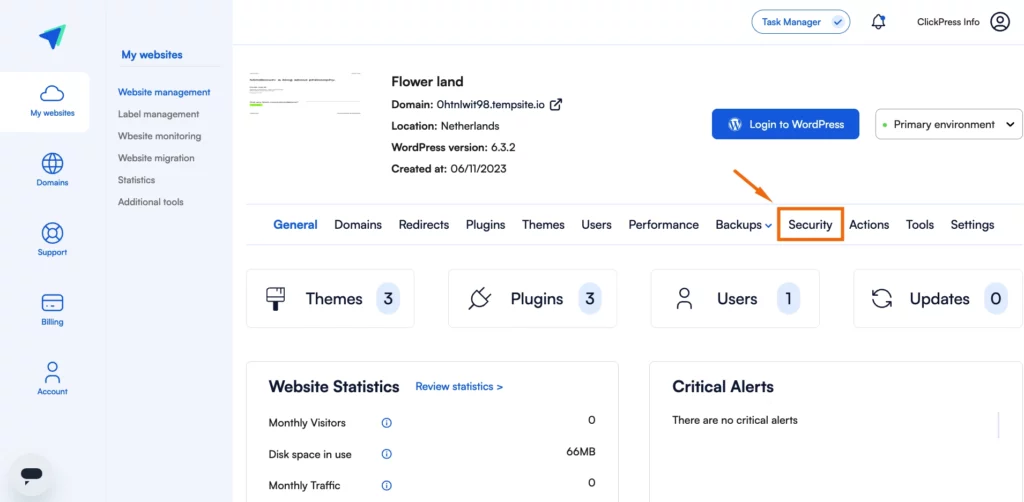
Step 1: Click on Security.
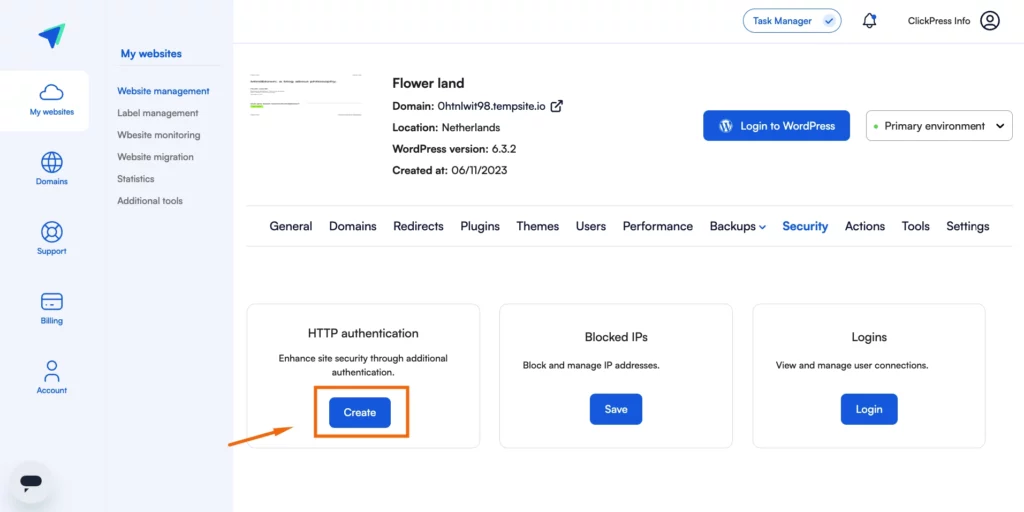
Step 2: Click on the blue button Create.
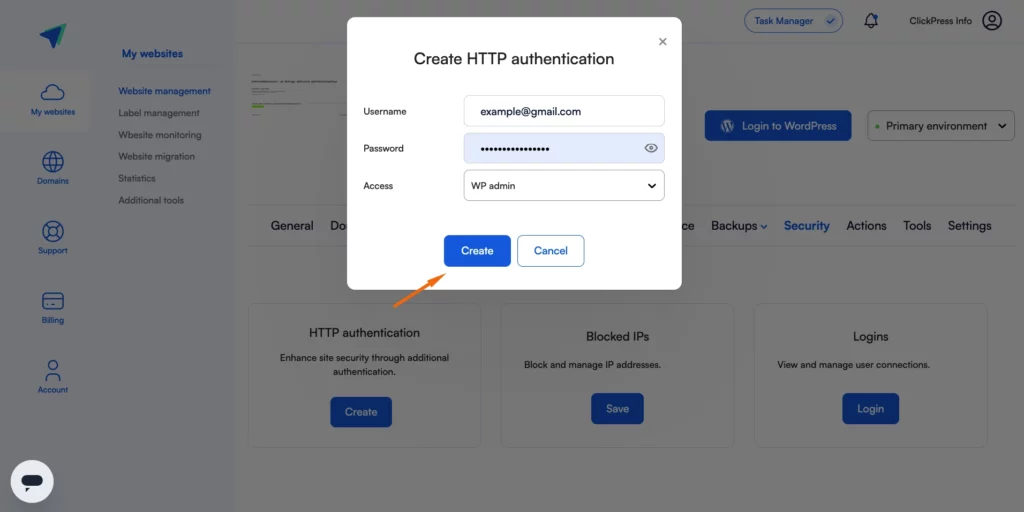
Step 3:
- Type the username (email).
- Create a password.
- Define the specific access you want to grant and then click on the blue button Create.
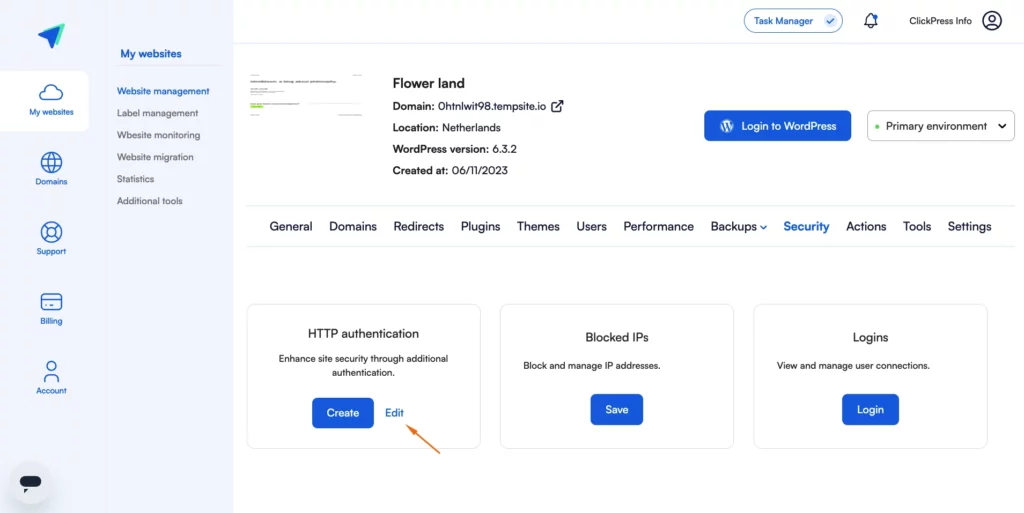
Step 4: To edit or remove the access, click on Edit.
Related Articles
How To Change Hostinger DNS to ClickPress
A simple guide to changing your domain via NS referral from the Hostinger registrar to ClickPress hosting.
How To Change Namecheap DNS to ClickPress
A simple guide to changing your domain via NS referral from the Namecheap registrar to ClickPress hosting.
How To Change Domain.com DNS to ClickPress
A simple guide to changing your domain via NS referral from the domain.com registrar to ClickPress hosting.

