
How to Manage Account Access
Add users and define specific permissions for accessing websites, billing, or full access.
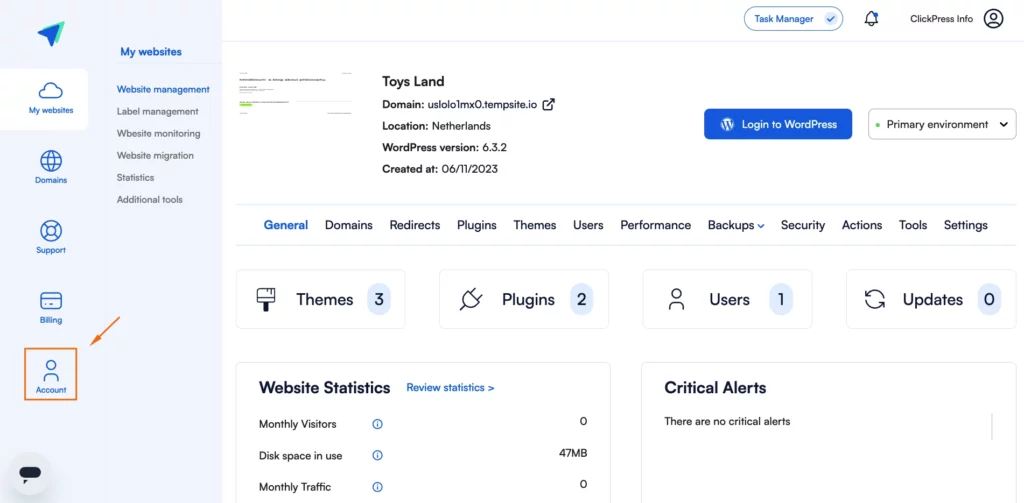
Step 1: Click on Account on the left side.
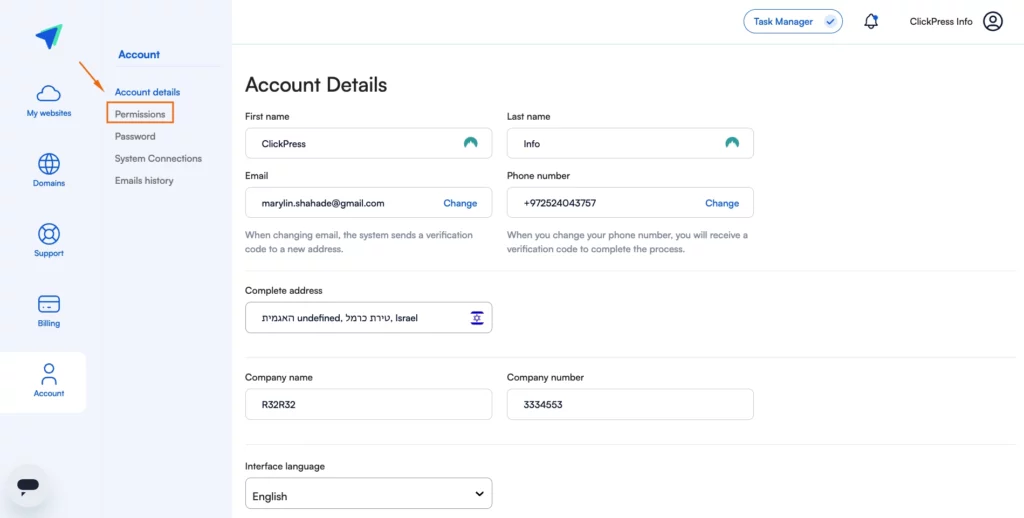
Step 2: Click on Permissions.
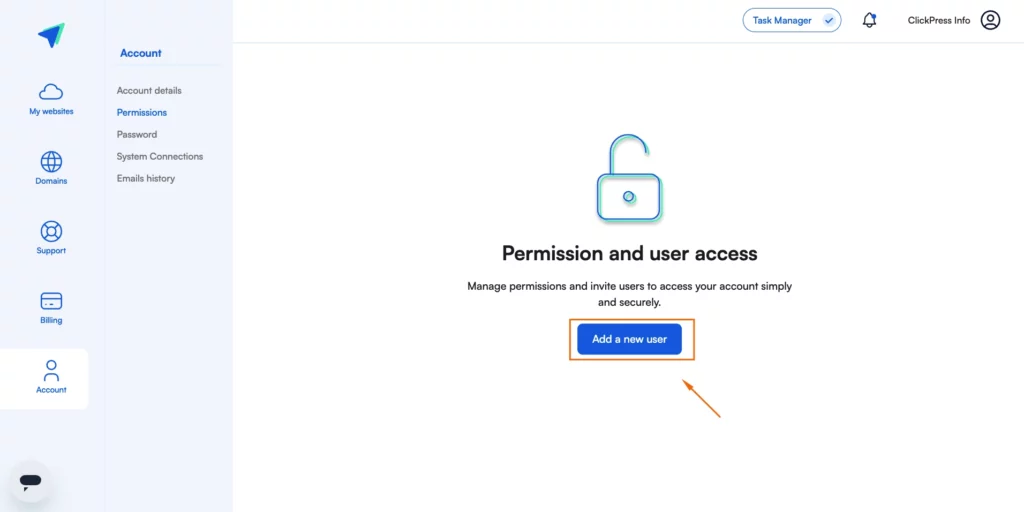
Step 2: Click on the blue button Add a new user.
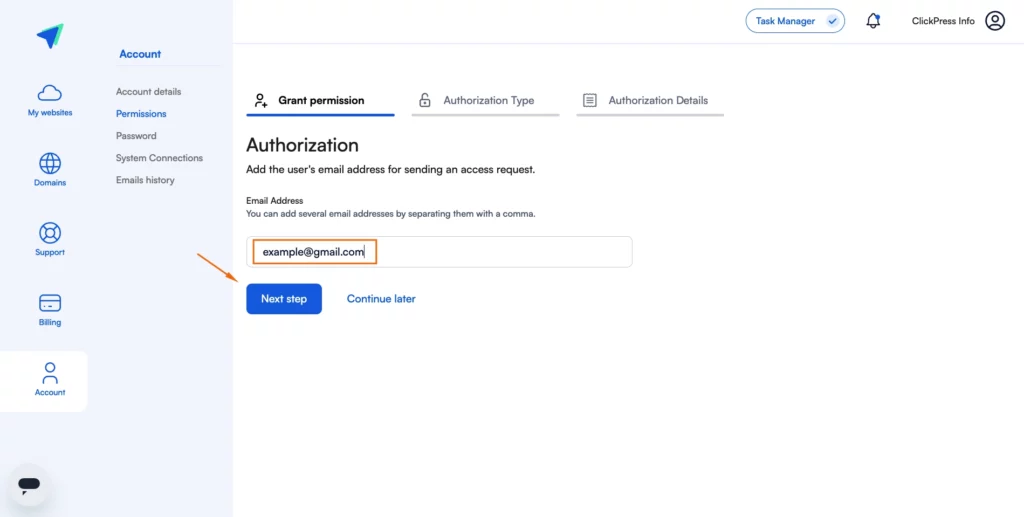
Step 3: Enter the user’s email for access and click the Next Step button. You can add multiple emails by separating them with commas.
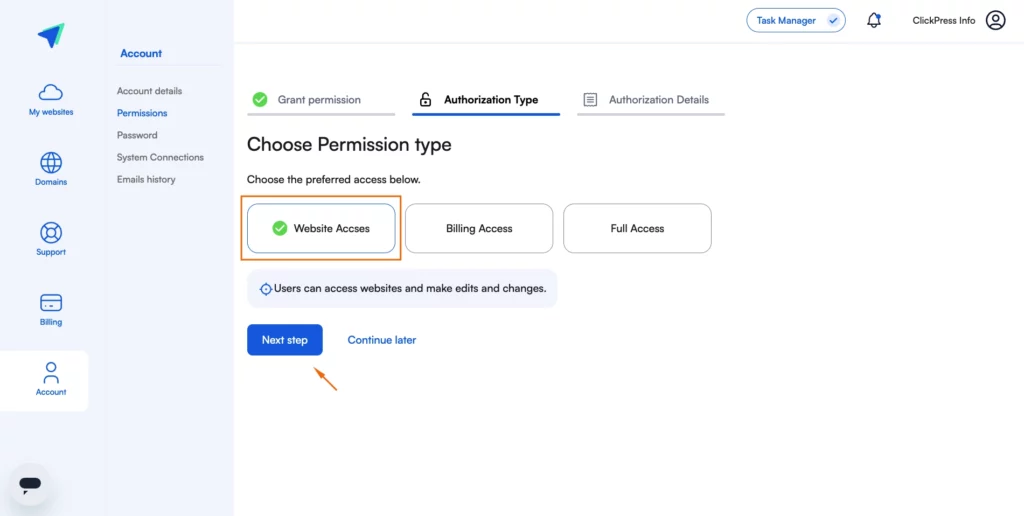
Step 4: Select your preferred access option and click the “Next Step” button. Please note that you can choose only one option.
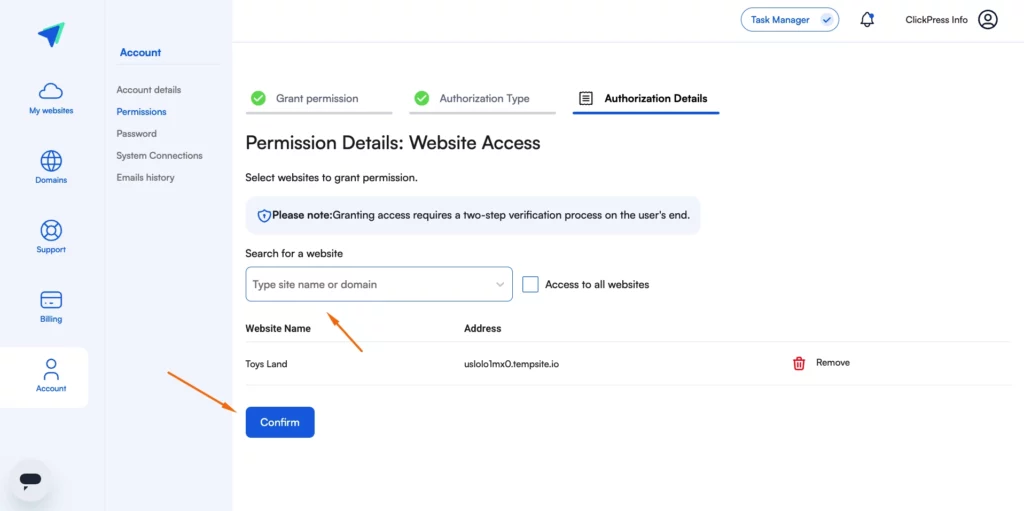
Step 5: Choose the website you want to gain access to and click on the blue button Confirm.
Related Articles
How To Change Hostinger DNS to ClickPress
A simple guide to changing your domain via NS referral from the Hostinger registrar to ClickPress hosting.
How To Change Namecheap DNS to ClickPress
A simple guide to changing your domain via NS referral from the Namecheap registrar to ClickPress hosting.
How To Change Domain.com DNS to ClickPress
A simple guide to changing your domain via NS referral from the domain.com registrar to ClickPress hosting.

