
How to Create a Testing Environment
Create a testing environment with a single click to safely create changes and update plugins and themes without affecting your live website. Once you are ready, you can copy all these updates to your production environment with a click. This minimizes errors and downtime that can negatively impact the user experience.
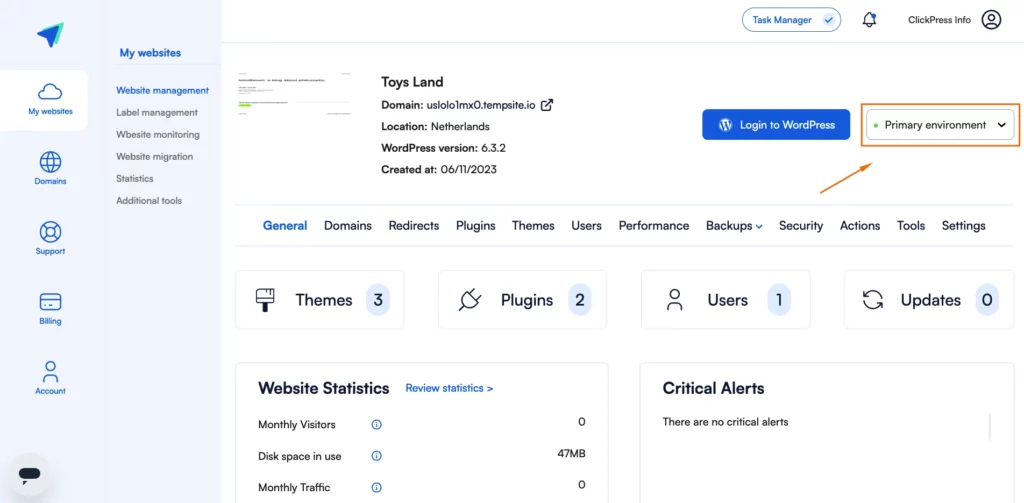
Step 1: Click on the button for Primary Environment.
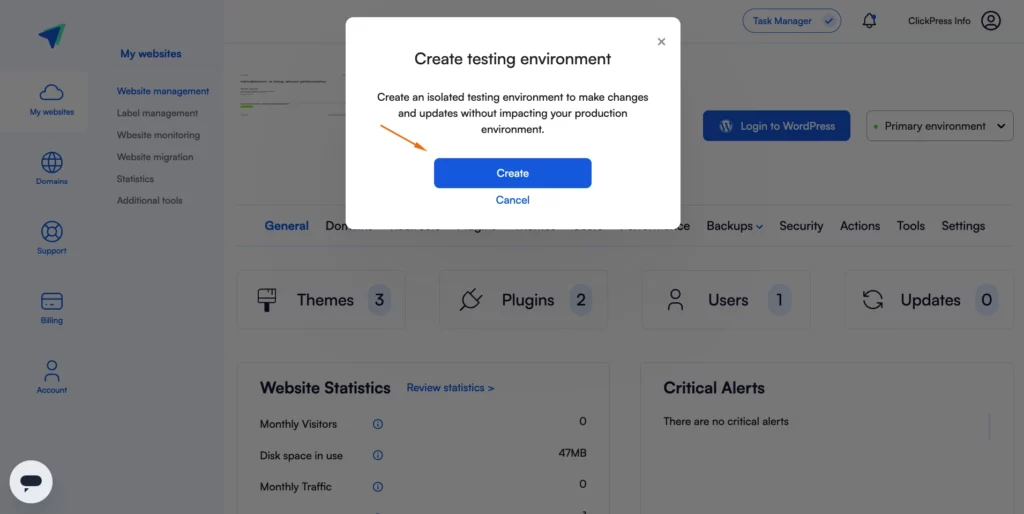
Step 2: Click on the blue button Create.
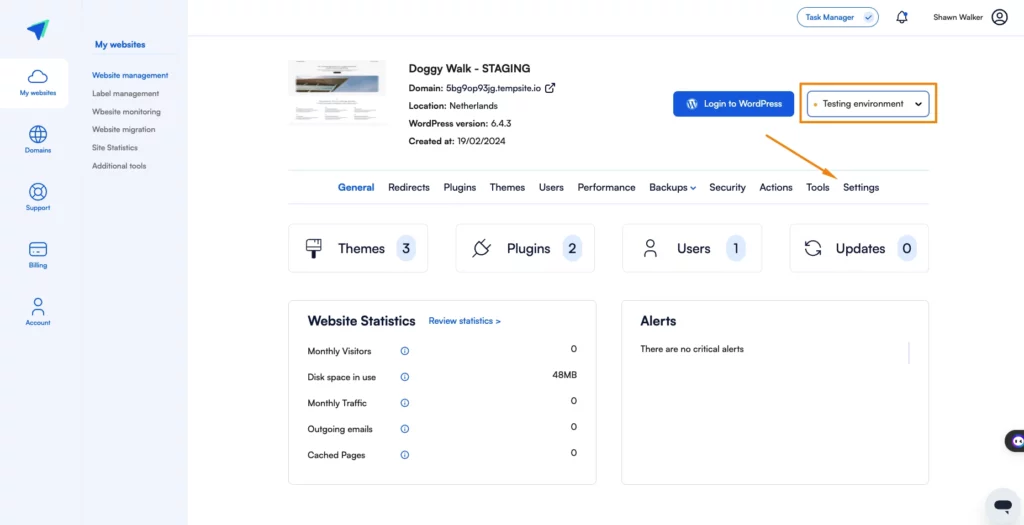
To delete your testing, click on settings.
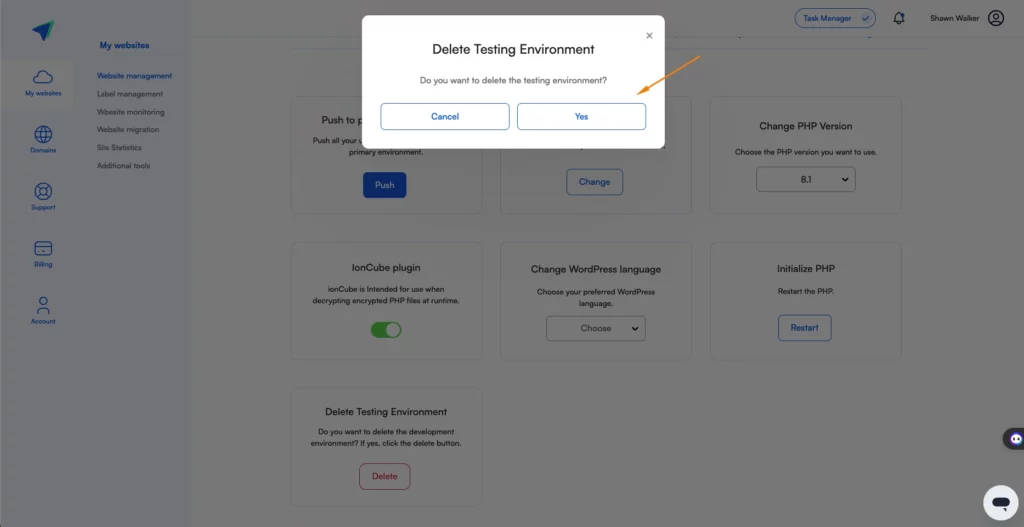
Scroll down to delete the testing environment, click the delete button, and then click yes.

Please note: The testing environment is valid for only 90 days. During this period, you’ll receive an email with the option to extend it.
Related Articles
How To Change Hostinger DNS to ClickPress
A simple guide to changing your domain via NS referral from the Hostinger registrar to ClickPress hosting.
How To Change Namecheap DNS to ClickPress
A simple guide to changing your domain via NS referral from the Namecheap registrar to ClickPress hosting.
How To Change Domain.com DNS to ClickPress
A simple guide to changing your domain via NS referral from the domain.com registrar to ClickPress hosting.

