
How to Enable WordPress Debug Mode
WordPress Debug mode helps developers identify and fix issues within their WordPress websites. Detailed error messages are displayed when debug mode is enabled; they provide us with information about PHP errors and warnings. These messages can help identify the root causes of problems, such as coding errors, compatibility issues, or conflicts between plugins or themes.
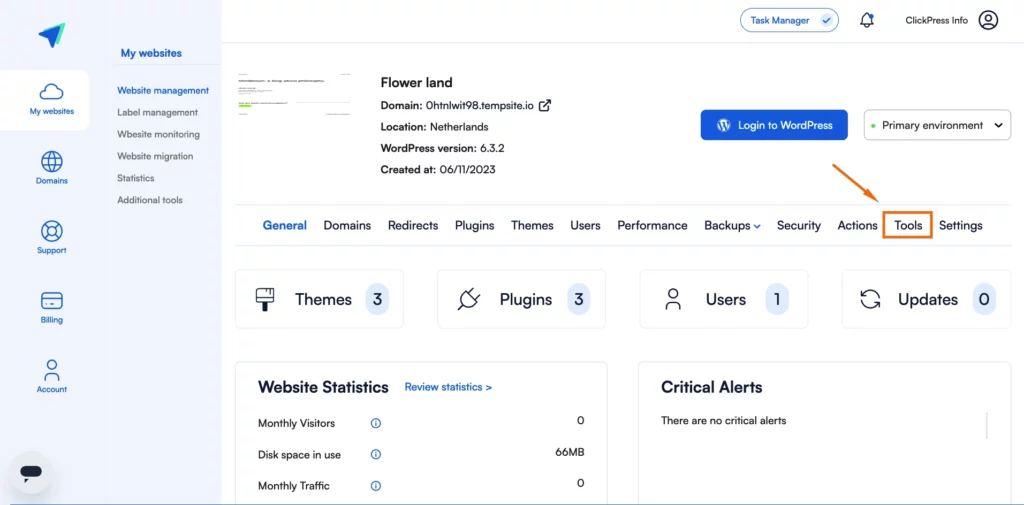
Step 1: Click on Tools.
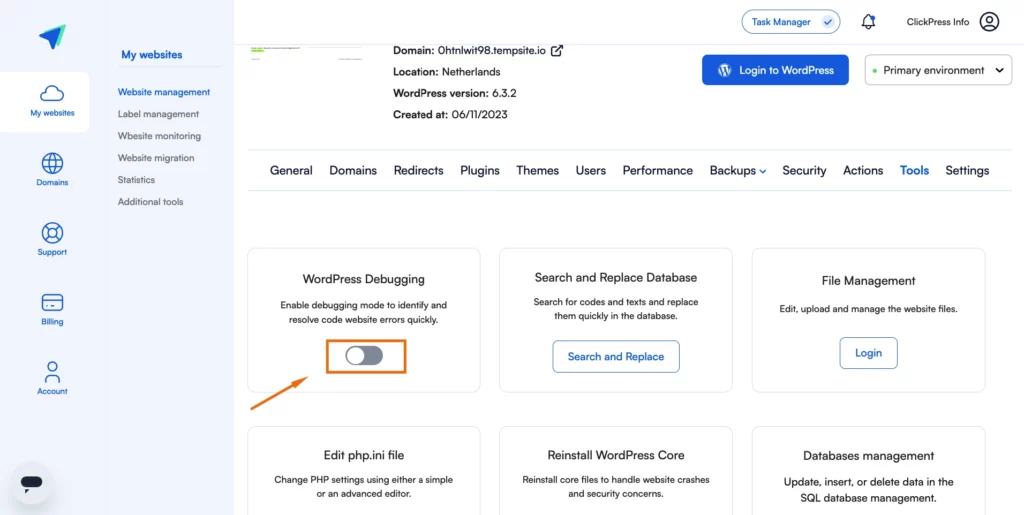
Step 2: Click the switch button to turn on the debugging mode.
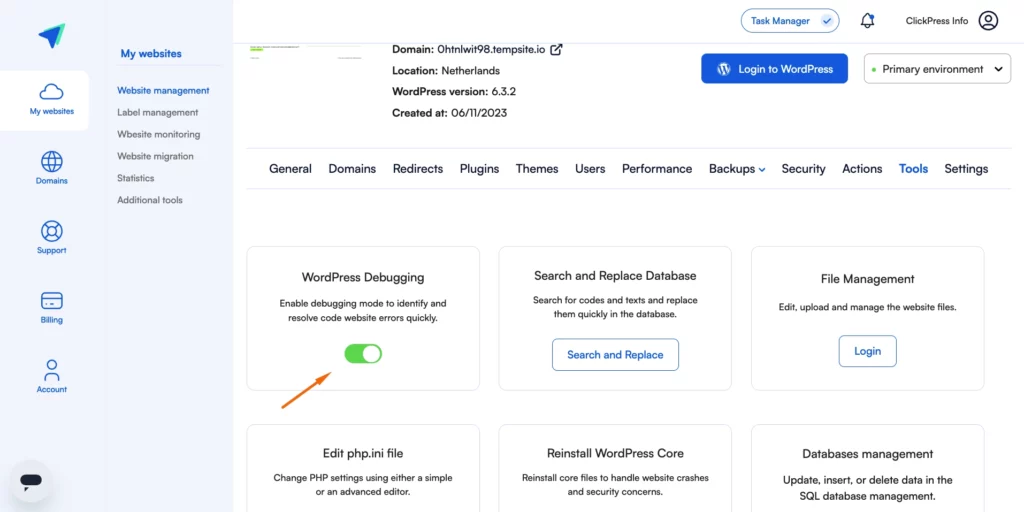
Once the switch displays a green color, it indicates that debugging mode is on.
Related Articles
How To Change Hostinger DNS to ClickPress
A simple guide to changing your domain via NS referral from the Hostinger registrar to ClickPress hosting.
How To Change Namecheap DNS to ClickPress
A simple guide to changing your domain via NS referral from the Namecheap registrar to ClickPress hosting.
How To Change Domain.com DNS to ClickPress
A simple guide to changing your domain via NS referral from the domain.com registrar to ClickPress hosting.

